Step 1: Gather Necessary Tools and Materials
- Tools: Wire strippers, screwdrivers, multimeter, and wrench set.
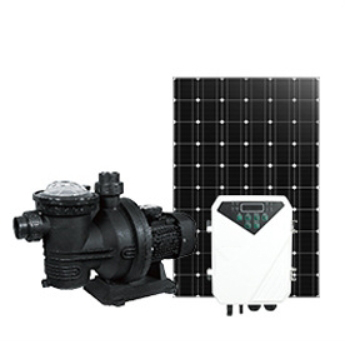
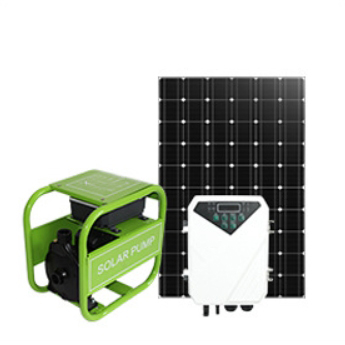
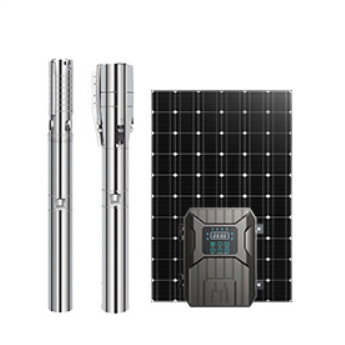
- Materials: Solar panels, controller, pump, electrical wiring (suitable for outdoor use), connectors, and mounting hardware.
Step 2: Mounting the Solar Panels
- Location: Choose a location that receives maximum sunlight throughout the day. Avoid areas with shade or obstructions.
- Method: Securely mount the solar panels on a roof or a pole using the provided mounting hardware. Ensure that they are angled to receive the maximum amount of sunlight, based on your geographic location.
Step 3: Wiring the Solar Panels
- Configuration: Depending on your system’s voltage requirements, connect the solar panels in series or parallel using appropriate connectors.
- Precaution: Ensure all connections are tight and secure to prevent any power loss.
Step 4: Connecting Solar Panels to the Controller
- Route the Wiring: Route the electrical wires from the solar panels to the location of the controller. Use outdoor-rated cable conduits to protect the wires from environmental factors.
- Connect: Follow the controller’s manual for proper wiring connections. Typically, this involves connecting the positive wire from the solar panels to the positive terminal on the controller and the negative wire to the negative terminal.
Step 5: Setting Up the Controller
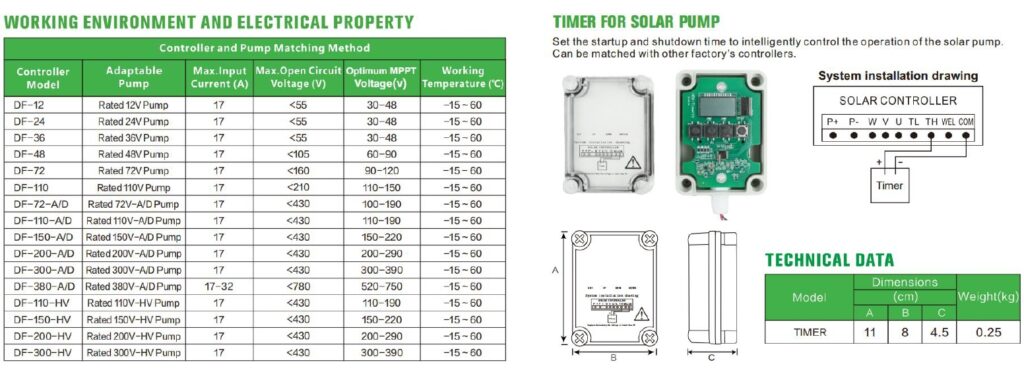
- Configure Settings: Adjust the settings on the controller according to the needs of your pump and local environmental conditions. This may include setting up maximum power point tracking (MPPT) or thermal protections.
- Testing: Use a multimeter to check the voltage and current to ensure that the controller is receiving power from the solar panels correctly.
Step 6: Connecting the Controller to the Pump
- Electrical Wiring: Connect the output terminals of the controller to the pump. As with the panel connections, ensure that the positive and negative wires match the corresponding terminals on the pump.
- Secure Connections: Double-check all connections for tightness and correct alignment to ensure optimal performance and safety.
Step 7: Final Setup and Testing
- Secure All Components: Make sure that all components are securely mounted and that wiring is protected and neat.
- Initial Testing: Turn on the system to check for any issues. Monitor the pump operation to ensure it is running smoothly and the controller is properly regulating the power.
Conclusion
Properly connecting your solar panels to the controller and pump is fundamental for the success of your solar water pumping system. By following these detailed steps, you can ensure that your setup not only meets technical standards but also operates at peak efficiency. Regular maintenance and monitoring can further enhance the longevity and performance of your system. Always consider consulting a professional for installation if you are unsure about the process to guarantee safety and functionality.
WHATSAPP:+86 17695541418
EMAIL: info@hodepump.com


